 |
 |
 |
 |
 |
 |
 |
 |
 |
 |
 |
 |
 |
 |
 |
K3LR method of installing a PL259 coax connector
I have hundreds of silver plated PL-259s in
service at my station. They are all soldered the same way. It is
different from what almost everyone else does. Good soldered
shields are very important to me.
I was never sure my shields were well soldered or maybe I had
melted the center dielectric before learning this method (before
1982).
Bill, N4AR taught me how to do this and I have been doing this "unconventional method" ever since.
Using silver plated PL259s makes this system a breeze. I only use Amphenol 83-1SP connectors. The connector body is silver and the shell is nickel.
You can get them from DX Engineering.
Take a fully assembled (shell + body)
connector.
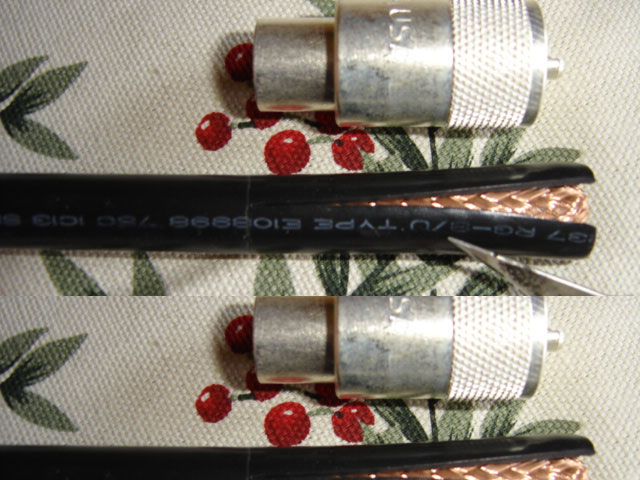
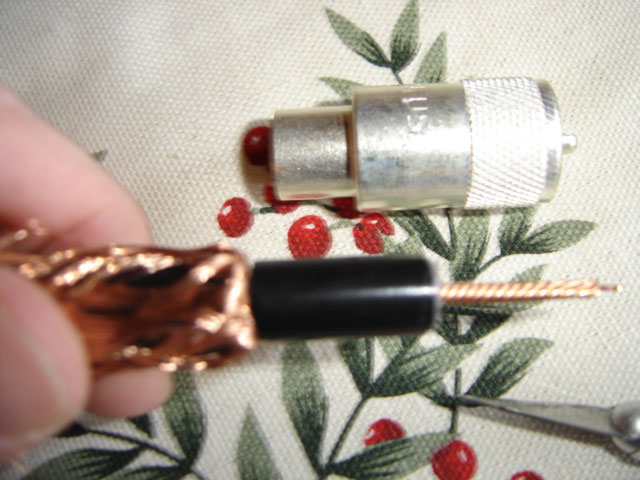
Measure the connector against the RG8 (or similar) coax.
Take the outer covering of the coax off with a sharp knife.
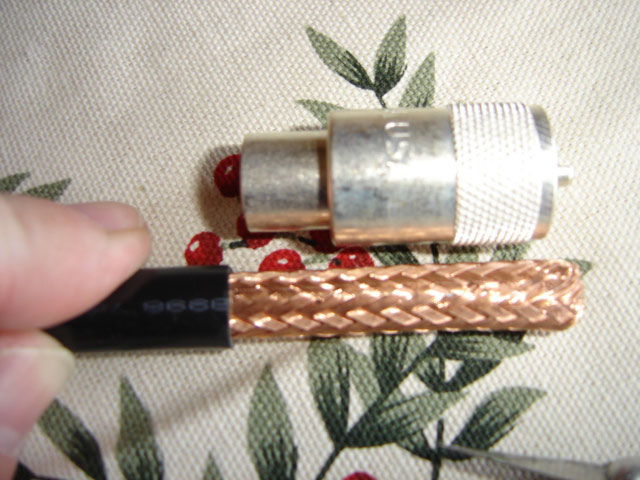
Pull the braid back all the way by fanning it out.
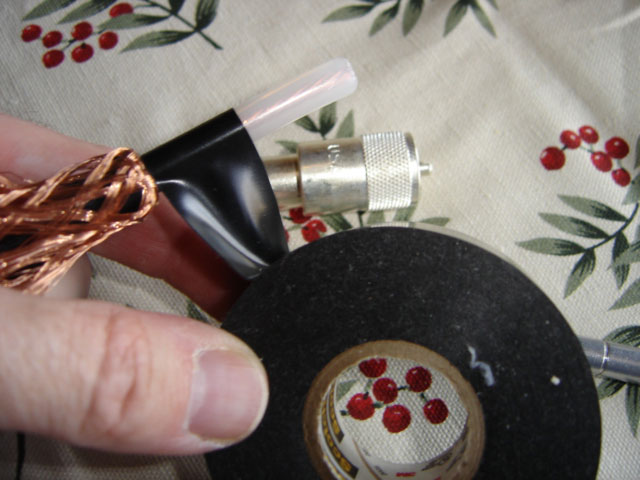
Wrap 3 to 4 turns of Scotch 88 black tape around the center
conductor dielectric up against the fanned out braid.
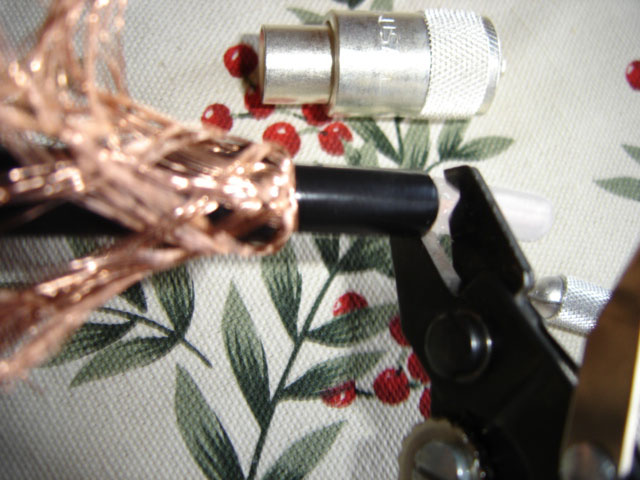
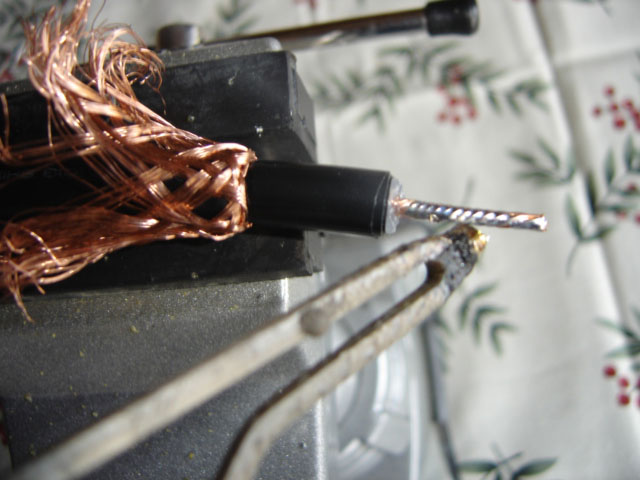
Use wire strippers and remove the remaining dielectric from the
center conductor.
Install the fully assembled PL259 onto the center conductor and
over the 88 tape.
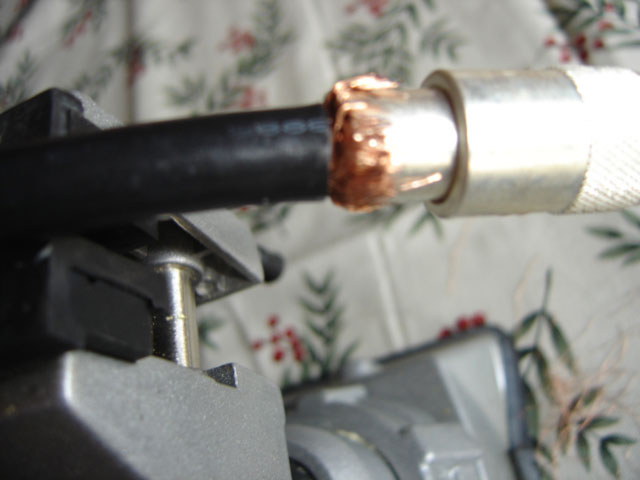
The back of the PL259 body should rest on the fanned out shield.
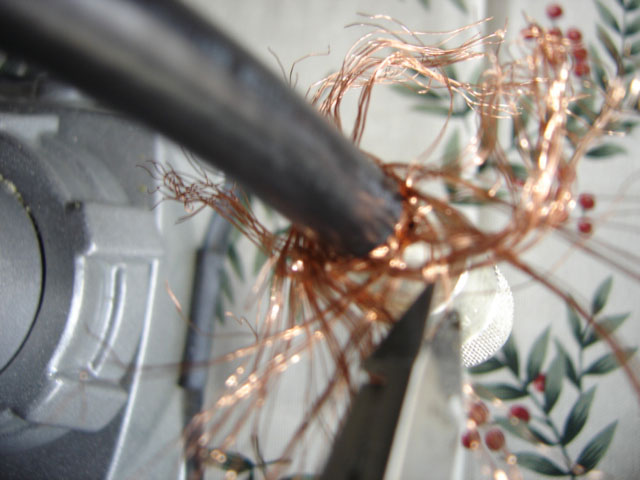
Solder the center conductor.
Fan out the shield and cut it to 1/4" long and fold over the
back of the PL259.
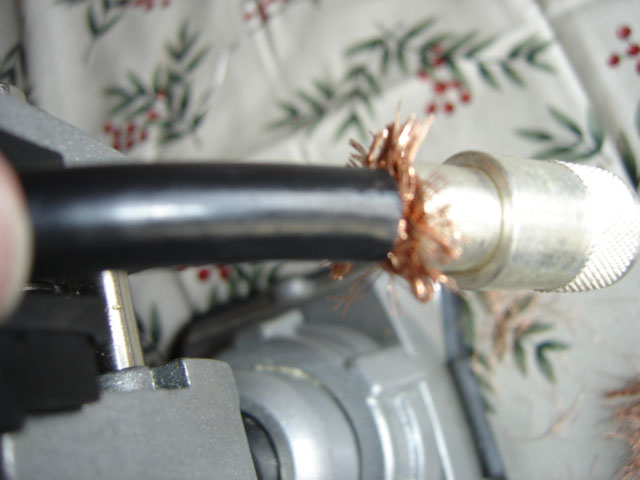
Solder the shield all the way around to the back of the PL259
body.
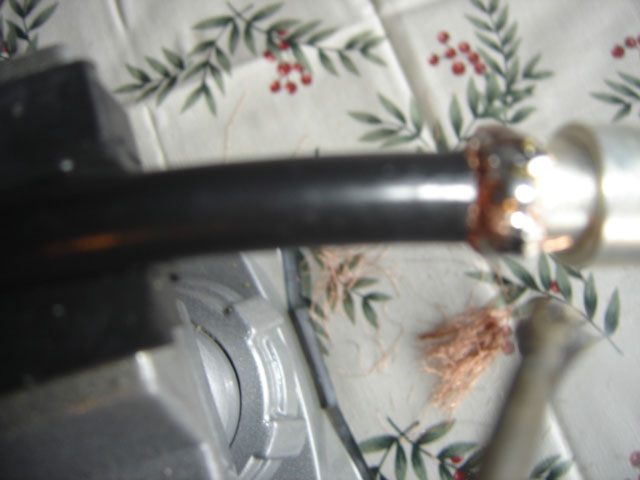
While the back is still hot wrap 2 turns of 88 tape around the
soldered shield
to seal it good.
I use a Weller D550 soldering gun for this process
Now you can enjoy a well soldered shielded
PL259! I have NEVER had one fail!
There may be a small impedance bump that you might be able to see
at VHF caused by this method vs. soldering through the holes, but
the N4AR method guarantees a well soldered shield which is much
more important to me.
Watch on youtube.com
Download the photos in zip format: Soldering of PL259
73!
Click on image for larger view
|
|
|
|
|
|
|
|
|
|
|
|
|
|
|
| Back to Homepage |
This site is
copyright © by Tim Duffy K3LR.
All Rights Reserved. All art, photos, and html is property of Tim
Duffy.